
If your turntable’s sound is breaking up, it can be a frustrating experience, especially when you’re trying to enjoy the warm, analog tones of your favorite vinyl records. Whether you’re an audiophile who cherishes every detail in the music or someone just getting into the world of vinyl, there’s nothing quite like the rich, immersive sound that only a turntable can deliver. However, even the most meticulously maintained turntables are not immune to occasional hiccups. Sound issues such as skipping, distortion, crackling, or outright interruptions can ruin the listening experience and leave you wondering what went wrong.
The beauty of vinyl lies in its tangible connection to the past, offering a nostalgic escape from our increasingly digital lives. But with this charm comes complexity—turntables are intricate machines with multiple components working together in harmony. When one part falters, it can throw off the entire system. The good news is that many common problems have straightforward solutions, often requiring little more than some basic troubleshooting and routine maintenance. From the stylus gliding across the grooves of your record to the tonearm balancing perfectly over the spinning platter, each element plays a crucial role in delivering pristine audio playback.
In this comprehensive guide, we’ll walk you through everything you need to know to diagnose and fix the issue causing your turntable’s sound to break up. We’ll cover all the potential culprits, ranging from the condition of your stylus and vinyl records to the alignment of your cartridge and the stability of your turntable setup. By systematically addressing each component, you’ll gain a deeper understanding of how your turntable works and learn valuable tips for keeping it in top shape. So let’s dive in and restore your turntable to its full glory!
1. Check the Stylus (Needle)
– Inspect the Stylus: The stylus might be dirty, worn out, or damaged. Carefully inspect it under good lighting.
– Clean the Stylus: Use a stylus brush or a soft brush to gently clean the needle. Avoid using your fingers.
– Replace the Stylus: If the stylus is worn out or damaged, replace it with a new one. Make sure to get the correct replacement for your turntable model.
2. Check the Vinyl Record
– Clean the Record: Dust, dirt, or debris on the record can cause sound issues. Use a carbon fiber brush or a record cleaning solution to clean the vinyl.
– Inspect the Record: Check for scratches or damage on the record. Deep scratches can cause the sound to break up.
3. Check the Tonearm and Tracking Force
– Balance the Tonearm: Ensure the tonearm is properly balanced. If it’s too heavy or too light, it can cause tracking issues.
– Adjust the Tracking Force: Use a tracking force gauge to set the correct tracking force for your cartridge. Refer to your turntable’s manual for the recommended settings.
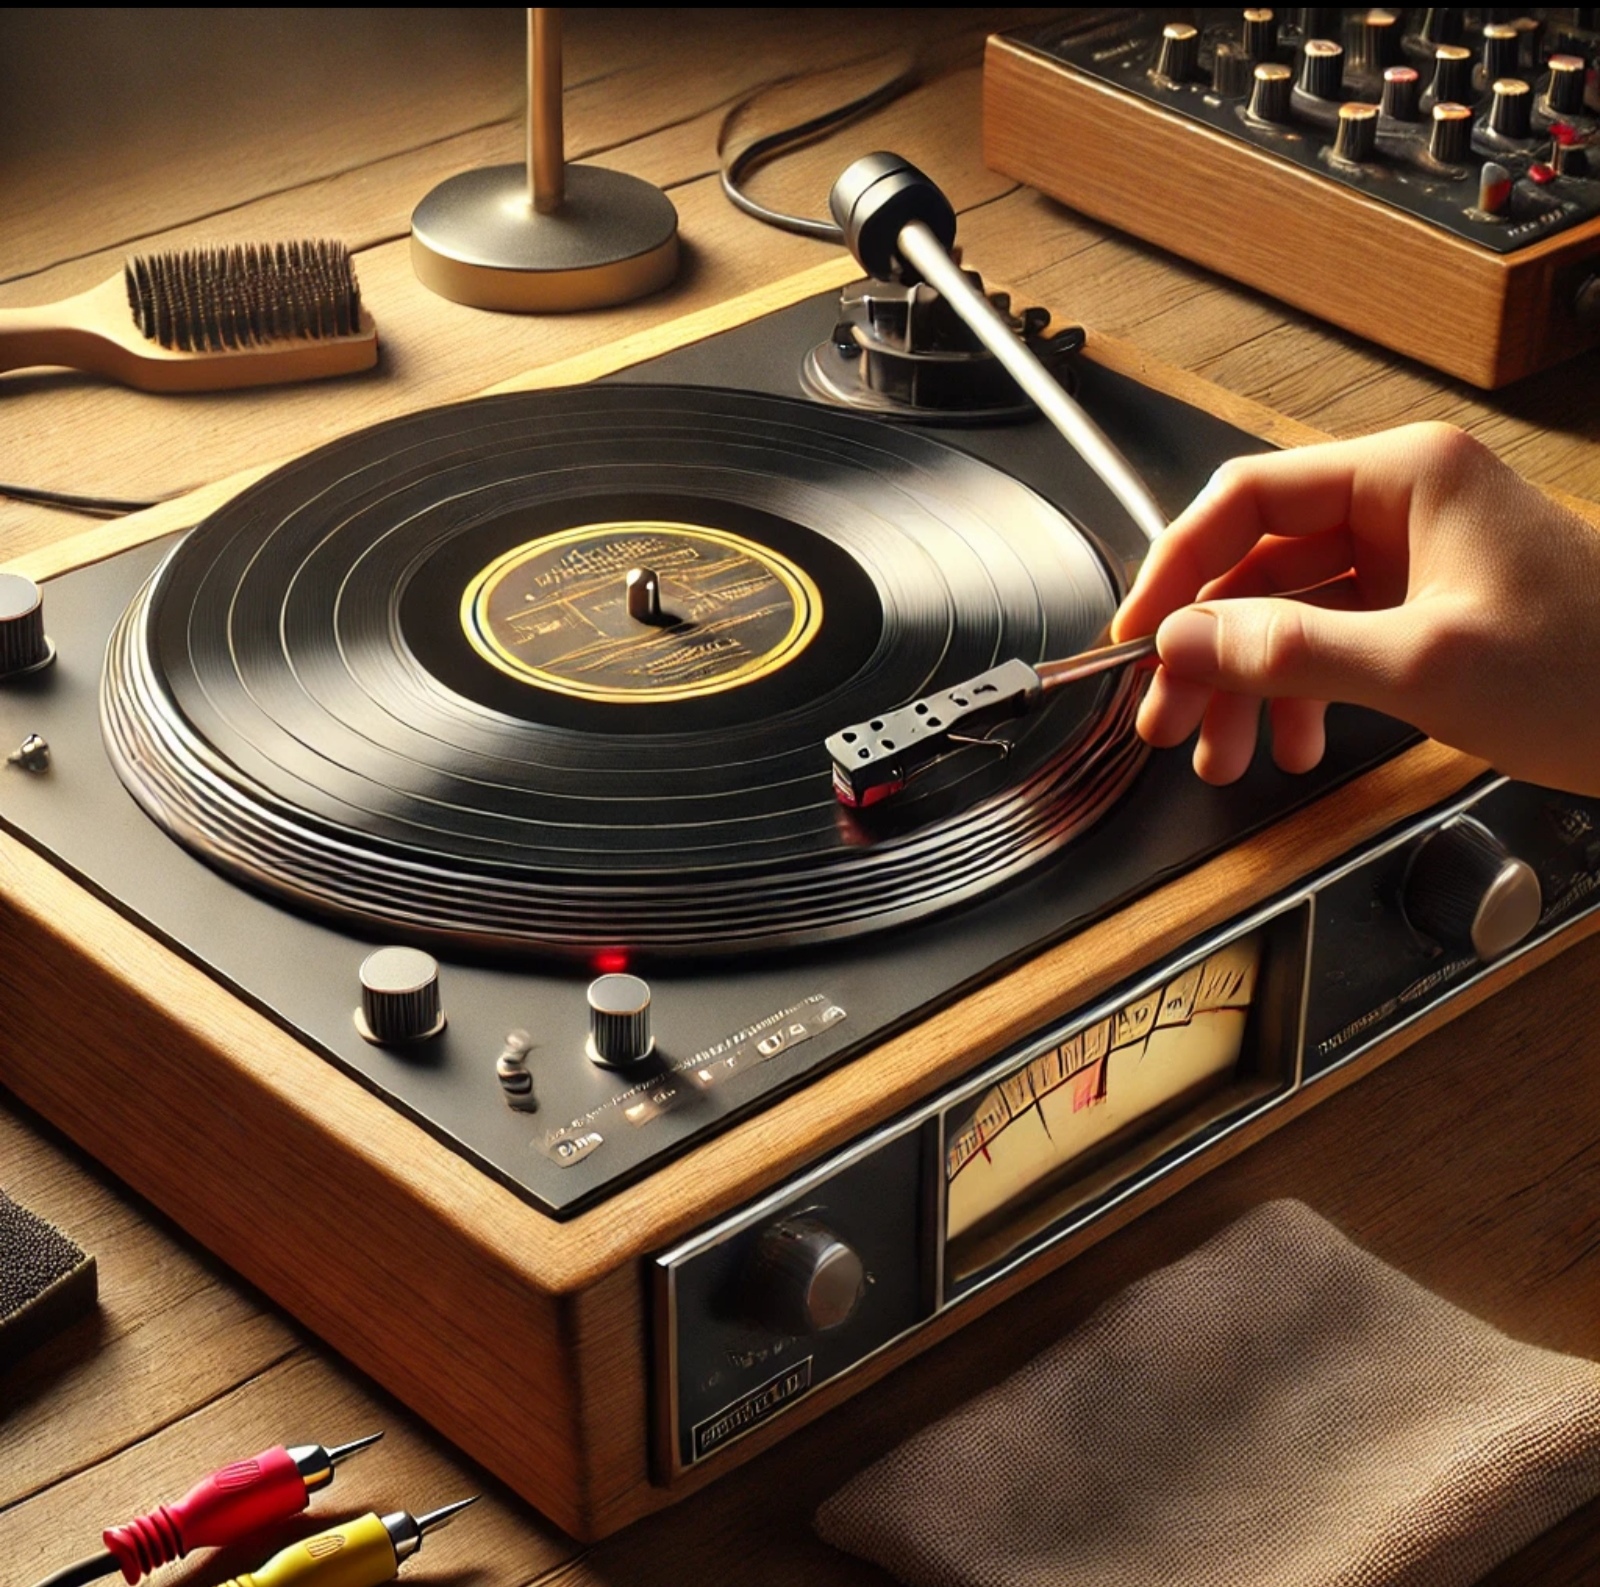
turntable
4. Check the Connections
– Inspect Cables: Check the RCA cables and ground wire for any damage or loose connections. Replace any faulty cables.
– Check the Phono Preamp: If you’re using an external phono preamp, ensure it’s working correctly. If your turntable has a built-in preamp, make sure it’s switched to the correct setting (phono or line).
5. Check the Turntable Surface
– Level the Turntable: Ensure the turntable is placed on a flat, level surface. An uneven surface can affect playback.
– Isolate from Vibrations: Make sure the turntable is isolated from vibrations, which can cause sound issues. Avoid placing it near speakers or other vibrating sources.
6. Check the Belt (if applicable)
– Inspect the Belt: If your turntable is belt-driven, check the belt for wear or looseness. A worn-out belt can cause speed inconsistencies and sound issues.
– Replace the Belt: If the belt is worn out, replace it with a new one.
7. Check the Motor and Platter
– Inspect the Motor: Ensure the motor is functioning correctly. If the motor is faulty, it may need to be repaired or replaced.
– Check the Platter: Make sure the platter is spinning smoothly and isn’t wobbling. A warped platter can cause sound issues.
8. Check the Cartridge Alignment
– Align the Cartridge: Misaligned cartridges can cause tracking errors and sound issues. Use a cartridge alignment protractor to ensure proper alignment.
9. Check the Anti-Skate Setting
– Adjust Anti-Skate: The anti-skate setting should match the tracking force. Incorrect anti-skate settings can cause the stylus to skip or distort the sound.
10. Consult the Manual
– Refer to the Manual: If you’re unsure about any settings or adjustments, consult your turntable’s manual for specific instructions.
11. Professional Help
– Seek Professional Repair: If you’ve tried all the above steps and the issue persists, it may be time to take your turntable to a professional for repair.
By following these steps, you should be able to identify and fix the issue causing your turntable’s sound to break up. With patience and attention to detail, you’ll soon be back to enjoying the unparalleled warmth and depth of vinyl sound.